Changing a pool light may seem like a complex task, but with the right guidance, tools, and safety precautions, it can be completed efficiently without draining your swimming pool. Whether you are upgrading to LED lighting or replacing a faulty bulb, understanding the correct process is essential for both safety and performance.
Why Pool Light Replacement Matters
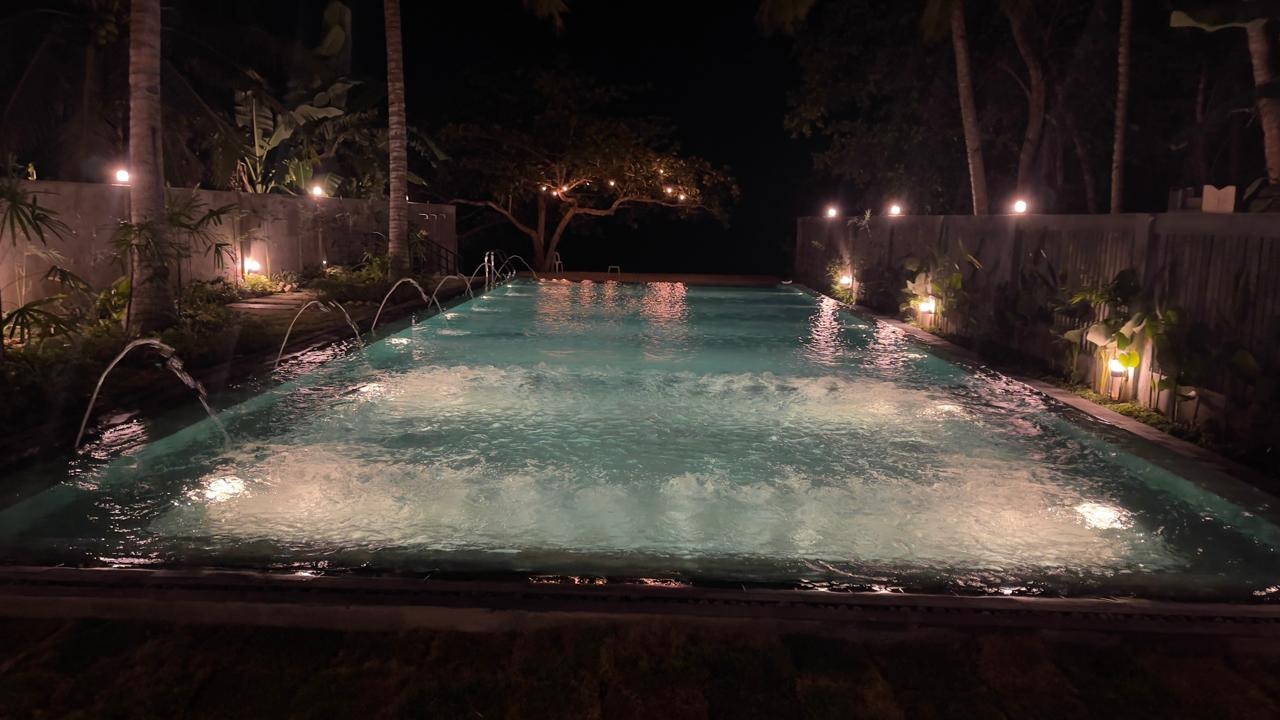
Swimming pool lighting is not only about aesthetics but also safety and functionality. A properly working pool light improves night visibility, enhances the swimming experience, and increases property value. Over time, water exposure, chemical corrosion, and electrical wear can cause pool lights to fail, making replacement necessary.
💡 Key Insight: High-quality waterproof pool lights are designed with advanced sealing structures to ensure long-term underwater performance even in harsh environments like chlorinated or saltwater pools.
Before You Start: Safety Preparation
Before changing a pool light, safety must always be the top priority. Turn off all electrical power at the circuit breaker to avoid any risk of electric shock. It is also recommended to use a voltage tester to confirm that no current is flowing to the light fixture.
Modern manufacturers such as professional LED pool lighting manufacturers design their products with low-voltage systems (typically 12V), which significantly improves safety during installation and maintenance.
Essential Tools You Will Need
Make sure you prepare the following tools before starting the replacement process:
✔ Screwdriver set
✔ Voltage tester
✔ Waterproof gloves
✔ Replacement pool light
✔ Towel or soft cloth
Step-by-Step Guide to Changing a Pool Light
Step 1: Turn Off Power
Switch off the circuit breaker connected to the pool lighting system. Double-check using a voltage tester to ensure complete disconnection.
Step 2: Remove the Light Fixture
Carefully unscrew the light housing from the pool wall. Most pool lights are designed to hang on a cord long enough to reach the pool deck, so you do not need to drain the pool.
Step 3: Open the Light Housing
Place the fixture on a soft surface. Remove the screws or locking ring and carefully open the housing to access the bulb or LED module.
Step 4: Replace the Bulb or LED Unit
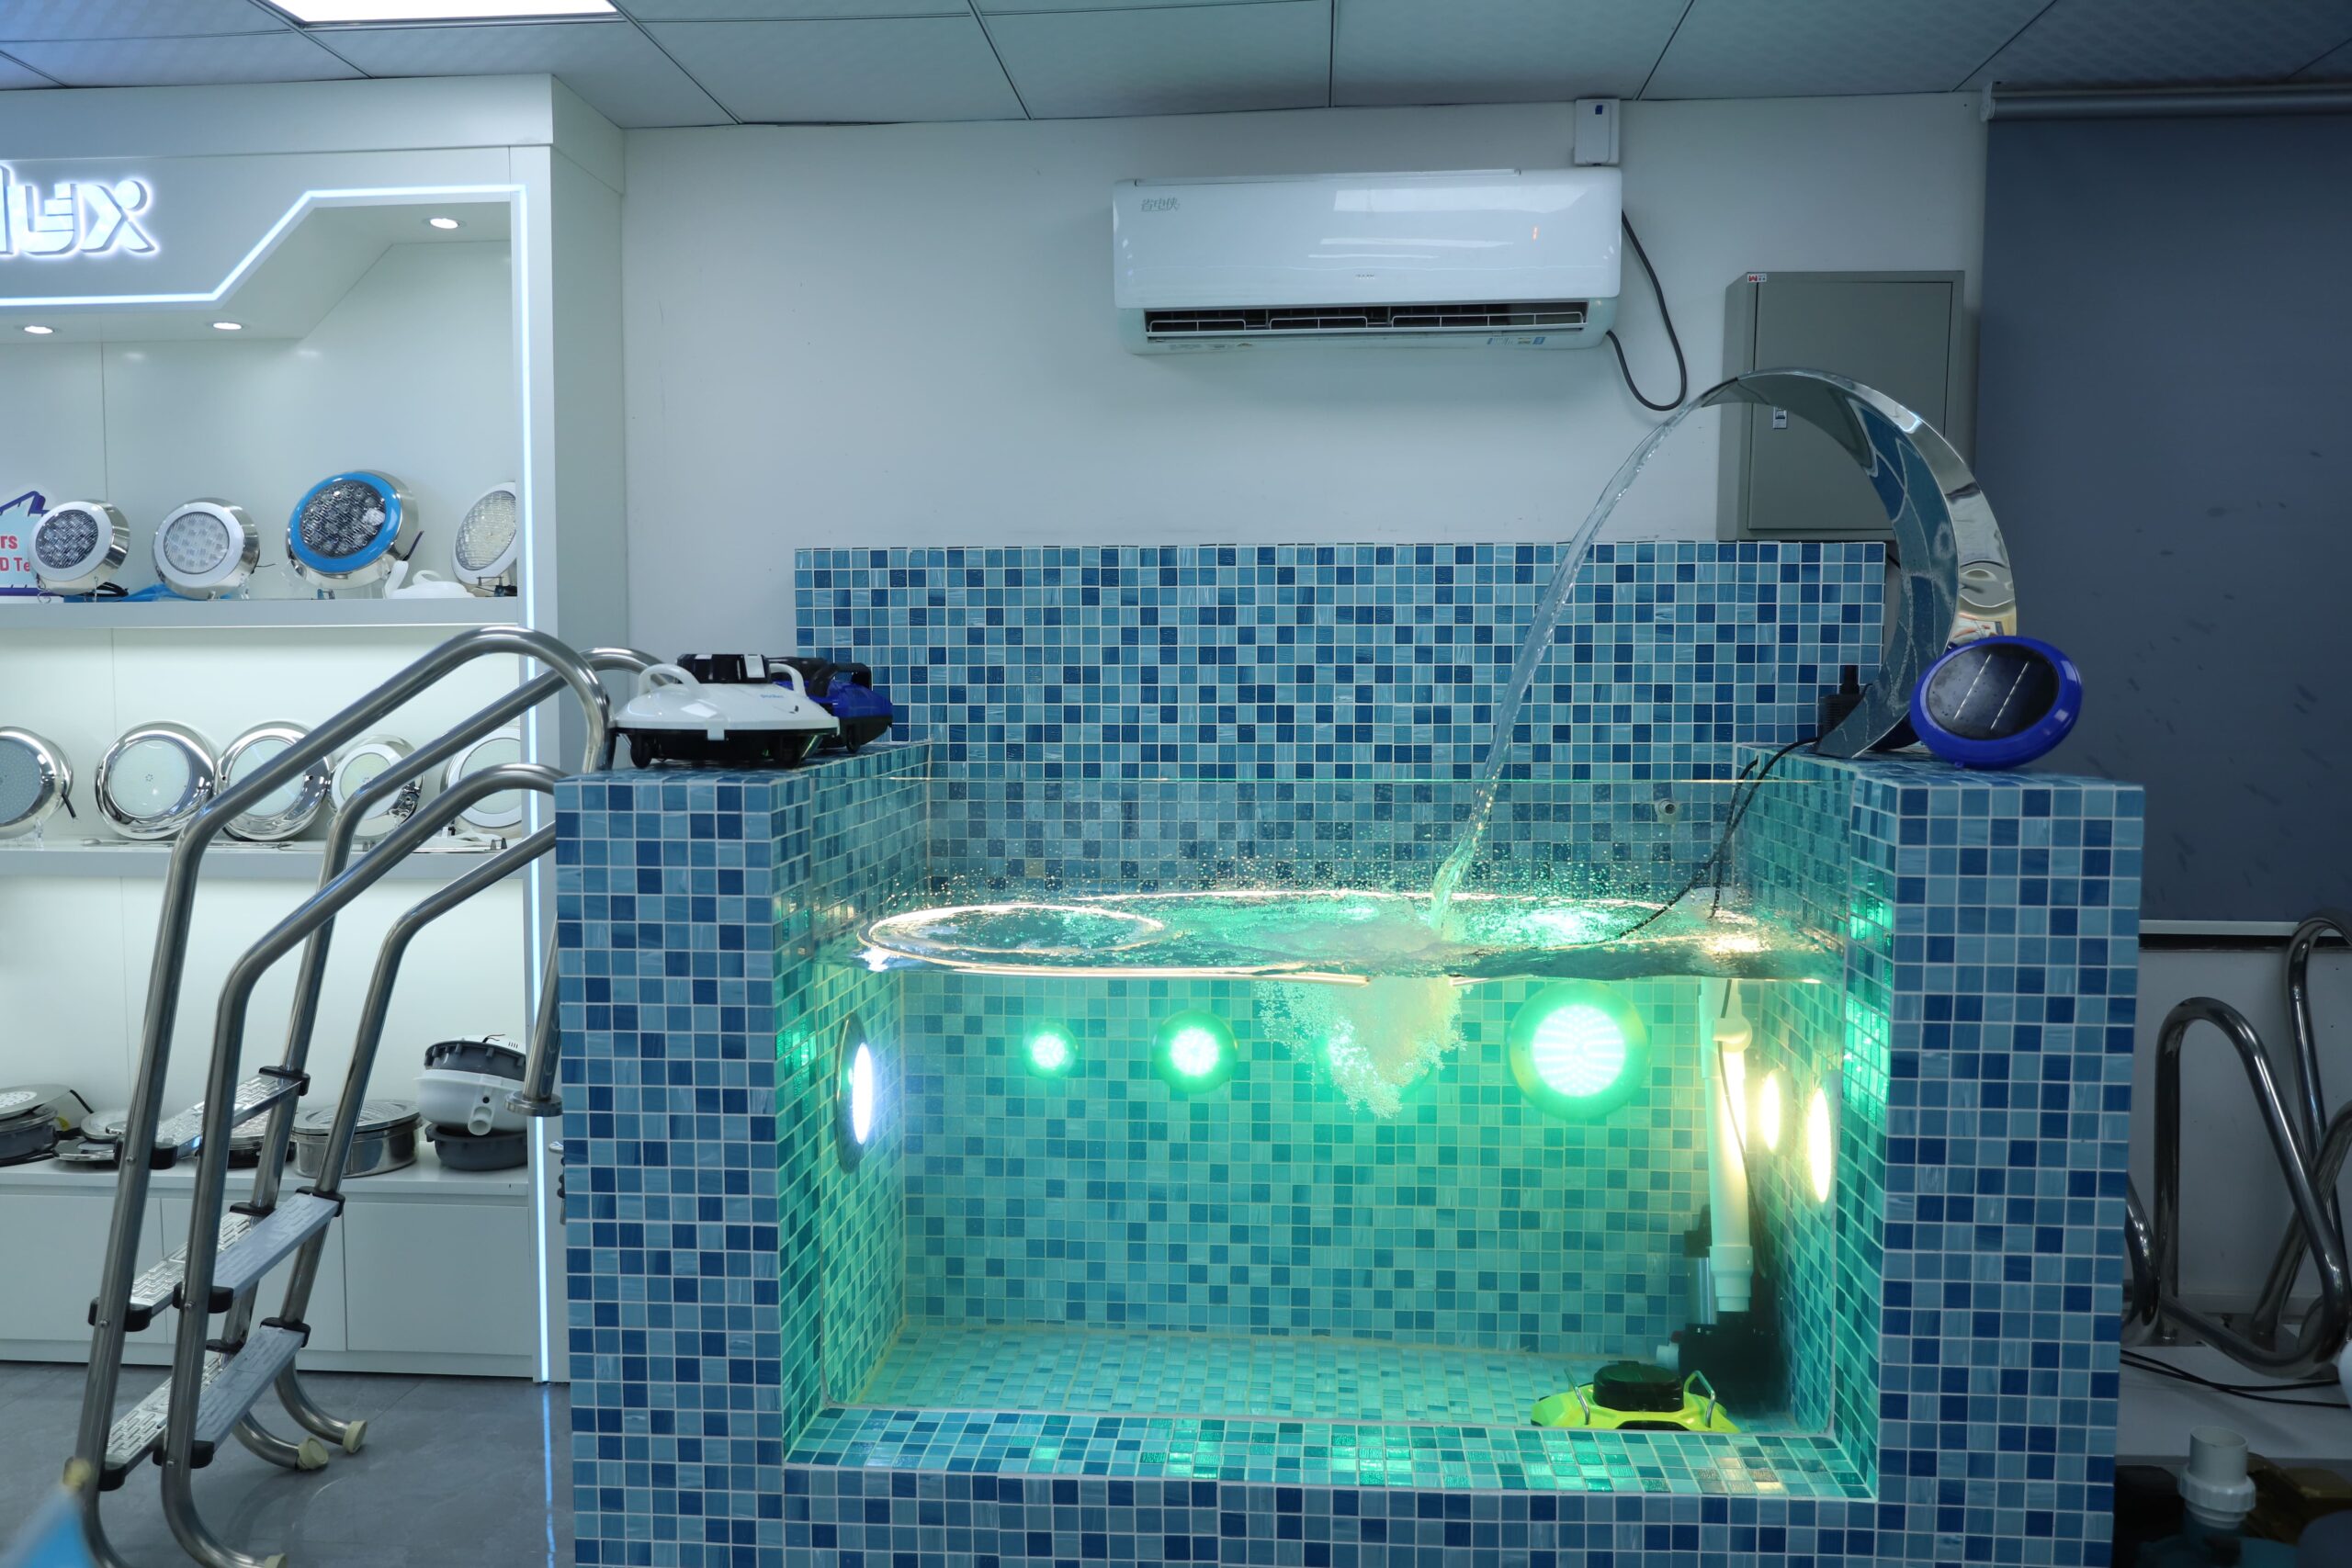
Remove the damaged bulb and replace it with a compatible LED or halogen unit. Ensure proper sealing to maintain waterproof performance, especially in IP68-rated systems.
⚠ Important: Always ensure the replacement light matches the voltage and waterproof rating (IP68 recommended) to avoid malfunction or leakage.
Step 5: Reassemble and Test
Close the housing securely, reinstall the fixture back into the pool wall niche, and tighten all screws. Turn the power back on and test the light function before finalizing installation.
Where Pool Lights Should Be Installed
Proper installation positioning is critical for achieving optimal lighting performance. Pool lights should be placed at a uniform depth of 9–12 inches below the waterline for even illumination. In some cases, lights may be installed on steps or benches depending on design requirements.
According to industry standards used by experienced pool lighting manufacturers, spacing and placement significantly affect brightness distribution and underwater visibility.
Common Problems During Pool Light Replacement
Many users encounter issues such as water leakage, poor sealing, or incorrect wiring during installation. These problems usually occur when using low-quality products or improper installation techniques.
✔ Always use certified IP68 waterproof lights
✔ Ensure proper sealing gasket installation
✔ Avoid mixing incompatible voltage systems
✔ Check cable integrity before reassembly
Benefits of Upgrading to LED Pool Lights
Many pool owners choose to upgrade from traditional halogen lights to LED systems due to their superior performance. LED pool lights consume less energy, produce less heat, and offer a longer lifespan.
Advanced manufacturers with strong R&D capabilities and automated production systems ensure consistent quality, high waterproof performance, and reliable lighting output for residential and commercial pools worldwide.
Maintenance Tips After Replacement
To extend the lifespan of your new pool light, regular maintenance is essential. Inspect the fixture periodically for signs of wear, ensure the lens remains clean, and check for any water intrusion.
High-quality pool lights produced in controlled environments such as dust-free workshops and undergo 48-hour aging tests typically offer much longer operational stability and reduced failure rates.
Frequently Asked Questions (FAQ)
1. Can I change a pool light without draining the pool?
Yes, most modern pool lights are designed with long cables that allow replacement while the fixture remains attached underwater.
2. Is it safe to change a pool light myself?
Yes, as long as the power is completely turned off and proper safety precautions are followed. If unsure, consult a professional electrician.
3. How long do LED pool lights last?
High-quality LED pool lights can last between 30,000 to 50,000 hours depending on usage and environmental conditions.
4. What is the best waterproof rating for pool lights?
IP68 is the recommended waterproof rating for underwater pool lighting applications.
5. Why does my new pool light flicker?
This is often caused by unstable voltage, poor wiring connections, or incompatible transformers.